Quick answer
To improve your wrist shot, fix five things in this order: grip (top hand controls, bottom hand about halfway down the shaft), puck starting position (behind your back foot, on the heel of the blade), weight transfer (push from back leg to front leg as you shoot), the heel-to-toe roll (puck rolls along the blade and snaps off the toe), and follow-through (point the blade at your target). Then build the shot with volume: 100 focused wrist shots a day on a shooting pad will change your shot in 4–6 weeks.
Key takeaways
- Power comes from your legs and weight transfer, not from your arms.
- The puck should travel from the heel to the toe of the blade on every shot — that roll creates spin, accuracy, and velocity.
- Your follow-through decides where the puck goes: blade points at the target, high follow-through for high shots, low for low shots.
- 100 shots a day, 6 days a week, is the standard volume for real improvement — that's only 15–20 minutes.
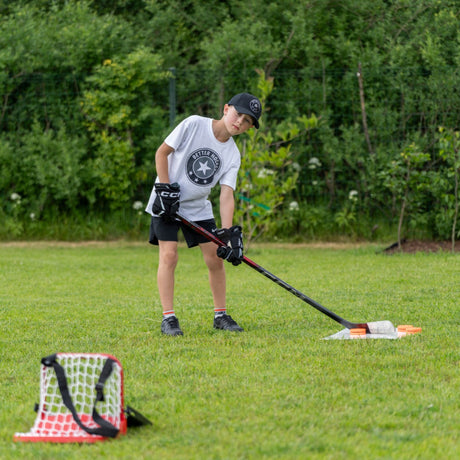
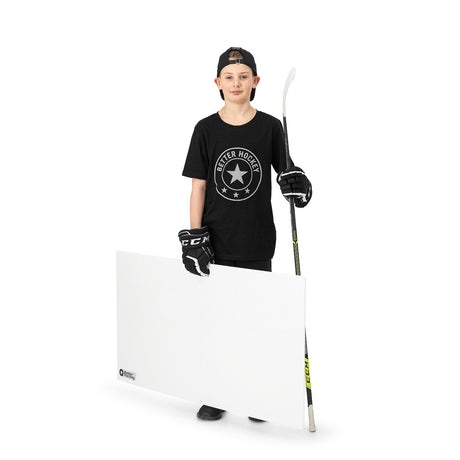
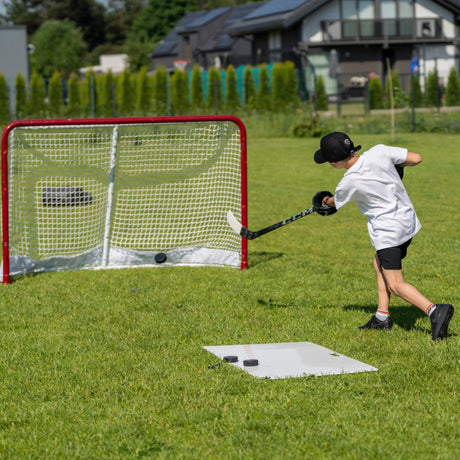
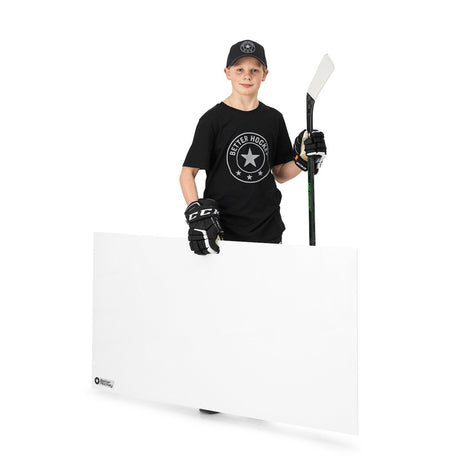
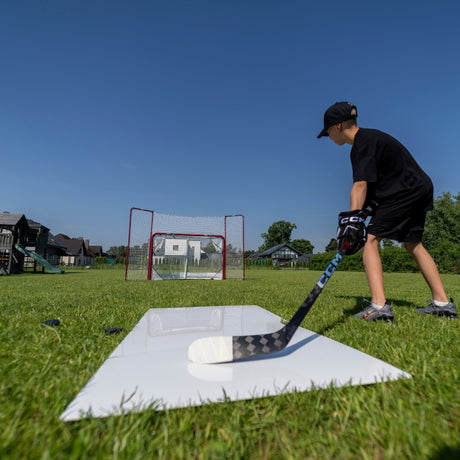
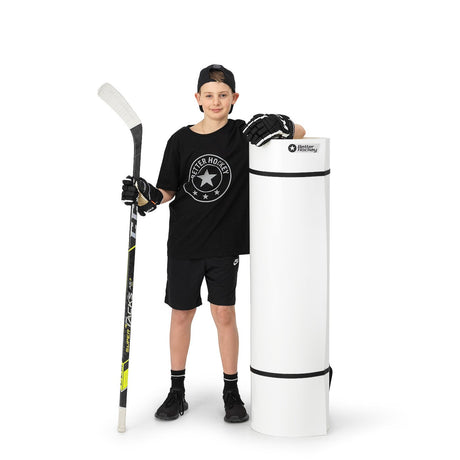
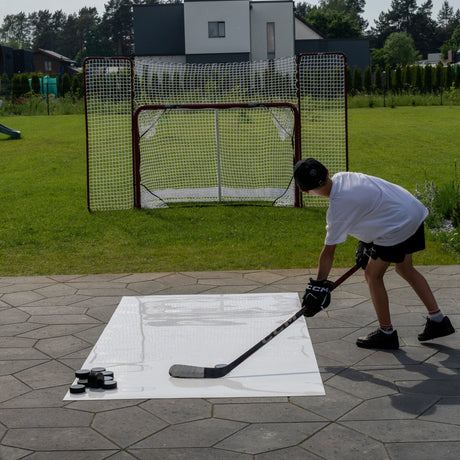
- Train off-ice on a smooth surface. A shooting pad gives the puck ice-like glide and saves your stick blade.
- Add a weighted stick or heavy pucks only after your technique is clean.
How do you hold the stick for a wrist shot?
Your top hand sits on the butt end and does the steering. Your bottom hand slides to roughly halfway down the shaft — lower than your stickhandling grip — and provides the push. Grip pressure is the first thing I check when a player's shot looks stiff: firm with the bottom hand, relaxed with the top hand. If your knuckles are white, you're squeezing too hard and killing your release.
Stand with your feet shoulder-width apart, knees bent, chest over the puck. Your body should be roughly sideways to the target, so your weight transfer moves toward the net, not around it.
Wrist shot technique: the 5 checkpoints

- Start position. Puck behind your back foot, cupped on the heel of the blade. Starting the puck further back gives it a longer runway to build speed.
- Weight transfer. As you pull the puck forward, push off your back leg and drive your body weight onto your front leg. By the time the puck releases, 80–90% of your weight should be on the front foot. Cue: "step into the shot."
- Heel-to-toe roll. The puck rolls along the blade from heel to toe as you sweep forward. This roll is what makes a wrist shot a wrist shot — it loads the blade and puts spin on the puck so it flies flat and true.
- Snap. Just before release, snap your wrists: bottom hand pushes forward and rolls over, top hand pulls back toward your body. The stick flexes and releases like a spring. Cue: "push-pull, not sweep."
- Follow-through. Point the toe of the blade exactly where you want the puck to go. Follow through high to go top corner, keep the blade low to shoot low. Hold the finish for a beat — it forces honest mechanics.
Coach Erik's tip: Film one shot from the side on your phone before you start counting reps. The error I see constantly is a back leg that never actually pushes — the player leans forward instead of driving forward, and the shot dies. If your back skate isn't light or lifting slightly at release, the weight transfer isn't happening.
Watch the full motion here before you start your reps:
Where does wrist shot power come from?
Three sources, in order of importance:
- Weight transfer (legs and hips). Roughly half your shot power. Most players I train arrive shooting "all arms" — and they've plateaued because of it. Exaggerate the back-to-front push in practice until it's automatic.
- Stick flex. Pressing down on the shaft with your bottom hand mid-shot bends the stick; the recoil launches the puck. This only works if your stick flex matches your body — a common rule is flex rating at or below half your body weight in pounds.
- Wrist snap. The final 10–20%, and the part that controls accuracy. Strong forearms sharpen it — a stick weight during stickhandling warm-ups and heavy pucks for part of your shooting reps build exactly these muscles.
Wrist shot progression drills
Work through these in order. Move to the next drill only when you can pass the standard listed. All of them work off-ice on a shooting pad.
| Drill | Reps | Focus | Move on when… |
|---|---|---|---|
| 1. Slow-motion shots | 2×15 | Heel-to-toe roll, no power | Puck spins off the toe every rep |
| 2. Stationary wrist shots | 3×20 | Full technique at 70% power | 15 of 20 hit the net where you aimed |
| 3. Weight-transfer shots | 3×15 | Exaggerated back-to-front push | You feel the front leg loading every shot |
| 4. Corner calls | 4×10 | Call the corner, hit it | 6 of 10 called shots hit |
| 5. Shot off the move | 3×10 | Pull puck from side, shoot in stride | Release feels as clean as stationary |
| 6. Quick-release reps | 3×10 | Minimal wind-up, puck out fast | Under 1 second from touch to release |
Hang shooting targets in the corners for drills 4–6 — aiming at a real target instead of "the net" is the fastest accuracy multiplier there is. For a deeper target-training method, see our guide to improving shooting accuracy.
Coach Erik's tip: When a drill gets too comfortable, don't add power — add a constraint. Move a step closer to shrink your angle, put the puck in your feet so you have to pull it into position first, or give yourself one second from touch to release. Small constraints force the adjustments games demand.
The 100-shot at-home routine
This takes 15–20 minutes on a shooting pad. Do it 5–6 days a week.
- Warm-up: 10 slow-motion shots, focusing only on the heel-to-toe roll.
- Technique block: 30 wrist shots at 70% power, perfect mechanics, hold each follow-through.
- Power block: 25 shots at full power with exaggerated weight transfer. Include 10 with a heavy puck if you have one, then feel how fast the regular puck flies.
- Accuracy block: 25 shots, call the corner before every one. Track your hits.
- Game block: 10 quick-release shots off the move — pull the puck across and fire without setting up. Eyes up: pick the corner by looking at it, not at the puck. If a partner is around, have them hold up fingers and call the number as you release.
Write down two numbers after every session: accuracy-block hits (out of 25) and how the last 10 felt. When accuracy passes 15/25 consistently, shrink the target. If you want to see power progress in hard numbers, a shot speed radar turns every session into a measurable one. Shooting into a real net matters too — a full-size steel goal teaches your eyes the true corner positions.
Common mistakes
- Shooting with arms only. No weight transfer means no power. Fix: exaggerate the push from back leg to front leg until it feels ridiculous — that's usually about right.
- Puck starts at your front foot. Short runway, weak shot. Fix: start the puck behind your back foot on every rep.
- Slapping instead of rolling. If the puck wobbles in the air, it's not rolling heel to toe. Fix: go back to slow-motion reps until the spin returns.
- No follow-through. Stopping the stick at release kills accuracy. Fix: hold your finish and check that the blade points at the target.
- Wrong stick flex. Too stiff and you can't load it. Fix: flex number at or below half your body weight in pounds.
- Random practice. Firing 100 careless pucks builds bad habits. Fix: follow the routine blocks and count something every session.
FAQ
How long does it take to improve a wrist shot?
With 100 focused shots a day, 5–6 days a week, most players feel a clear difference in 4–6 weeks and see a major change in one off-season. Technique improves in the first two weeks; power follows as the movement pattern gets stronger.
How many wrist shots should I take per day?
100 is the standard that fits in 15–20 minutes. Quality beats raw volume — 100 shots with full attention beat 300 careless ones. Younger kids (under 10) can start with 25–50.
Can I practice wrist shots without ice?
Yes — the wrist shot is the most off-ice-trainable skill in hockey. A shooting pad gives the puck near-ice glide and protects your blade. Most of an elite shooter's lifetime reps happen in a garage or driveway, not on ice.
What muscles power a wrist shot?
Legs and hips deliver most of the power through weight transfer, the core transfers it, and forearms and wrists control the final snap and accuracy. That's why squats and heavy-puck reps do more for your shot than arm curls.
Should kids use a heavy puck for wrist shots?
From about age 10, and only for part of the session — 10–20 reps, then back to a regular puck. Younger kids should use a regular or light puck so extra weight doesn't distort their technique.
Why does my wrist shot flutter in the air?
The puck isn't spinning, which means it's sliding off the middle of the blade instead of rolling heel to toe. Slow the shot down to half speed, exaggerate the roll, and the wobble disappears within a few sessions.
Summary
A better wrist shot is five checkpoints — grip, puck behind the back foot, weight transfer, heel-to-toe roll, follow-through — plus 100 deliberate reps a day on a surface that lets the puck behave like it's on ice. Run the progression drills until each standard is met, follow the 100-shot routine for six weeks, and track your accuracy numbers.
Next steps: build your reps with the best hockey shooting drills, set up a full home shooting station, or browse all our shooting guides.