Quick answer
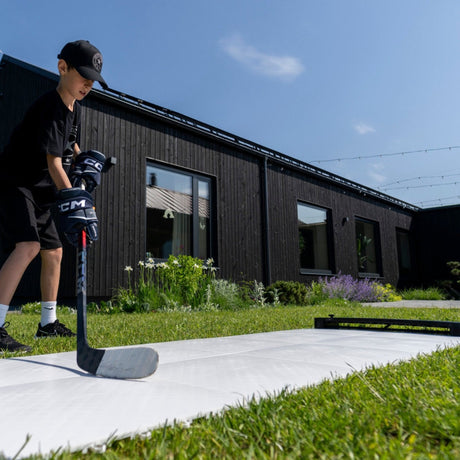
A shooting pad performs like new for years if you do three things: let it settle flat when new, roll it loosely (never fold it), and give it a smooth, debris-free floor. Add a rebounder and even a 2 x 3 m corner becomes a complete passing-and-shooting station - and 50 focused shots a day off that pad builds a visibly stronger shot in a month.
Key takeaways
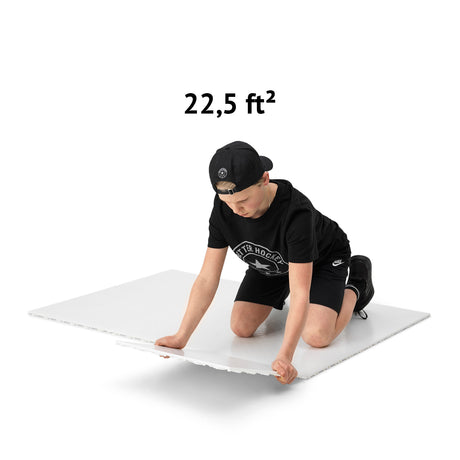
- New roll-up pads need a day or two flat (smooth side up, weight on corners) to lie perfectly.
- Roll loosely around a large core; tight rolls and folds create permanent waves.
- Grit under the pad becomes bumps in your puck's path - sweep first.
- Strong shots come from weight transfer and follow-through, trained in daily sets, not from gear.

Watch: setting up your pad
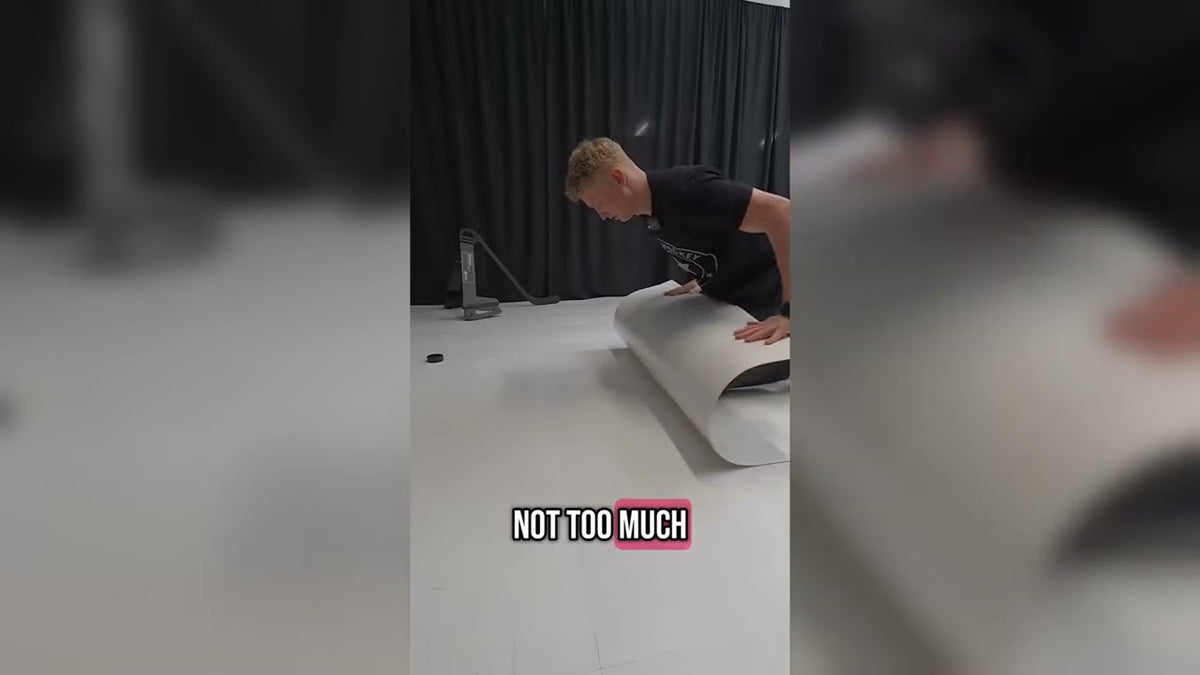
Watch: rolling it up the right way
Small space? Full training station
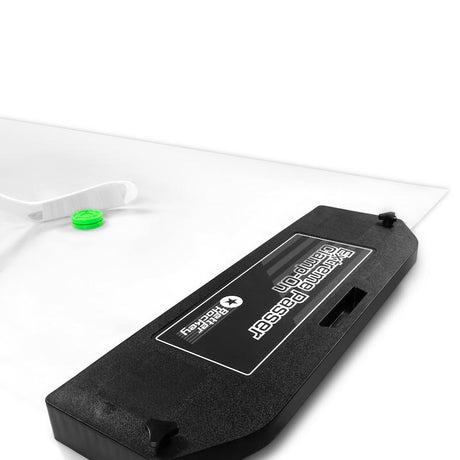
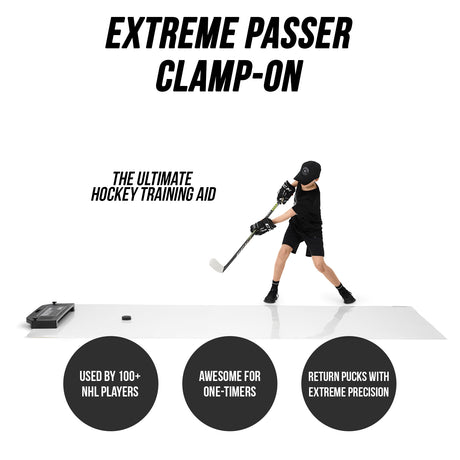
A roll-up pad plus a Triangle Passer in a corner gives you passing, one-touch and quick-release work in the footprint of a dining table. The video shows the layout.
Build a stronger shot on your pad
Daily set that works: 20 wrist shots focusing only on pushing off the back leg, 20 focusing only on follow-through to the target, 10 at full power combining both. Count them - 50 a day is 1,500 a month. Technique details in how to shoot harder.