Quick answer
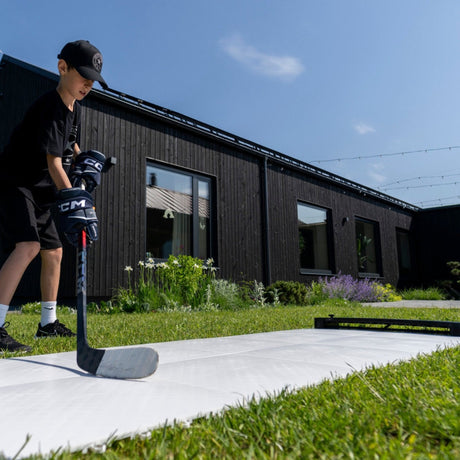
Hockey flooring tiles turn any garage or basement floor into a smooth training surface that pucks glide on like ice. Before buying, know three things: how many square feet you actually need (less than most people think), that your base floor must be flat, and that correct interlocking direction matters for a seamless feel. A 10-pack covers a stickhandling spot; a shooting zone wants 20-40 tiles.
Key takeaways
- Tiles beat a bare concrete floor for puck feel and protect blades and floor alike.
- Start small - a 10- or 20-pack - and expand; the tiles interlock, so adding later is easy.
- A flat, clean base floor is non-negotiable: tiles follow whatever is underneath.
- Honest note: for pure shooting, a roll-up pad is cheaper per square foot; tiles win when you want a permanent zone you can move around on.

Watch this before buying
How many tiles do you need?
| Zone | Pack | Coverage |
|---|---|---|
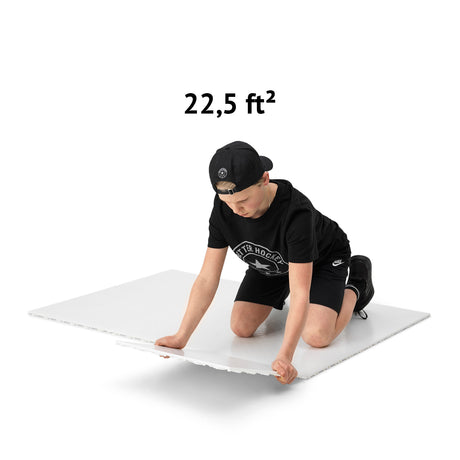
| Stickhandling spot | 10-pack | 22.5 sq ft |
| Shooting lane | 20-pack | 45 sq ft |
| Shooting + passing zone | 40-pack | 90 sq ft |
| Full garage zone | 60-pack | 135 sq ft |
Set them up the right way
Sweep the floor, start from one corner, keep all tiles facing the same interlock direction, and leave a small expansion gap at walls in rooms with temperature swings. Done right, the seams disappear under the puck. Full room planning in our home training setup guide.